|
|
VDH - Prerequisites Last updated: 30 Nov 2016 |
There are a number of items that need to be made up before the head can be started, these prerequisites being tabled below...
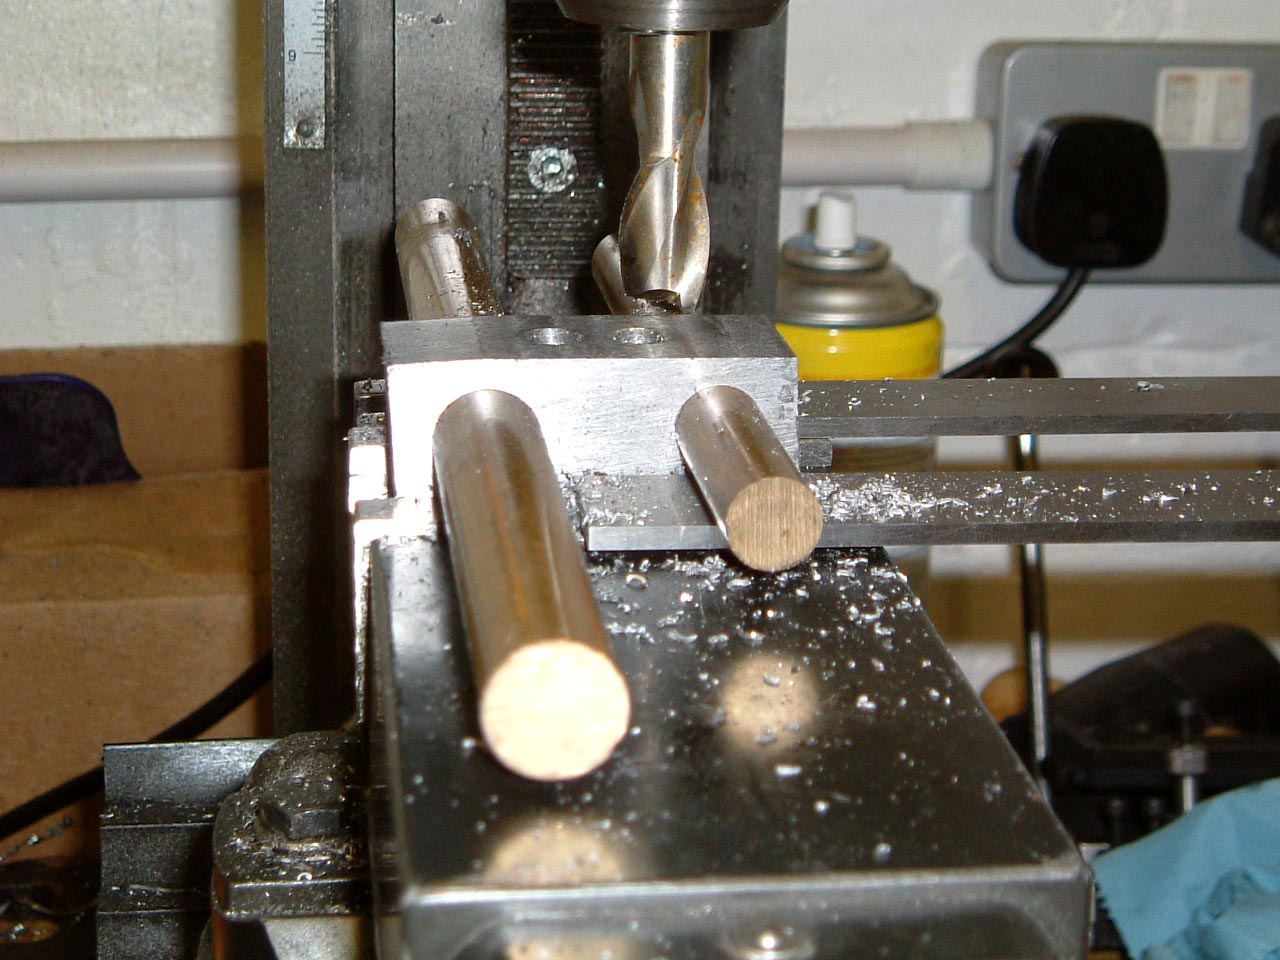 |
05-Mar-2005: The first part to be made is the tailstock block. The reason for this, is the centres are used to set the centres on the main casting. In the picture, a 1/2" and 5/8" bar are passed through the casting, and a 1/8" thick parallel has been placed under the 'thin' end. This allows the correct angle to be machined on the block. |
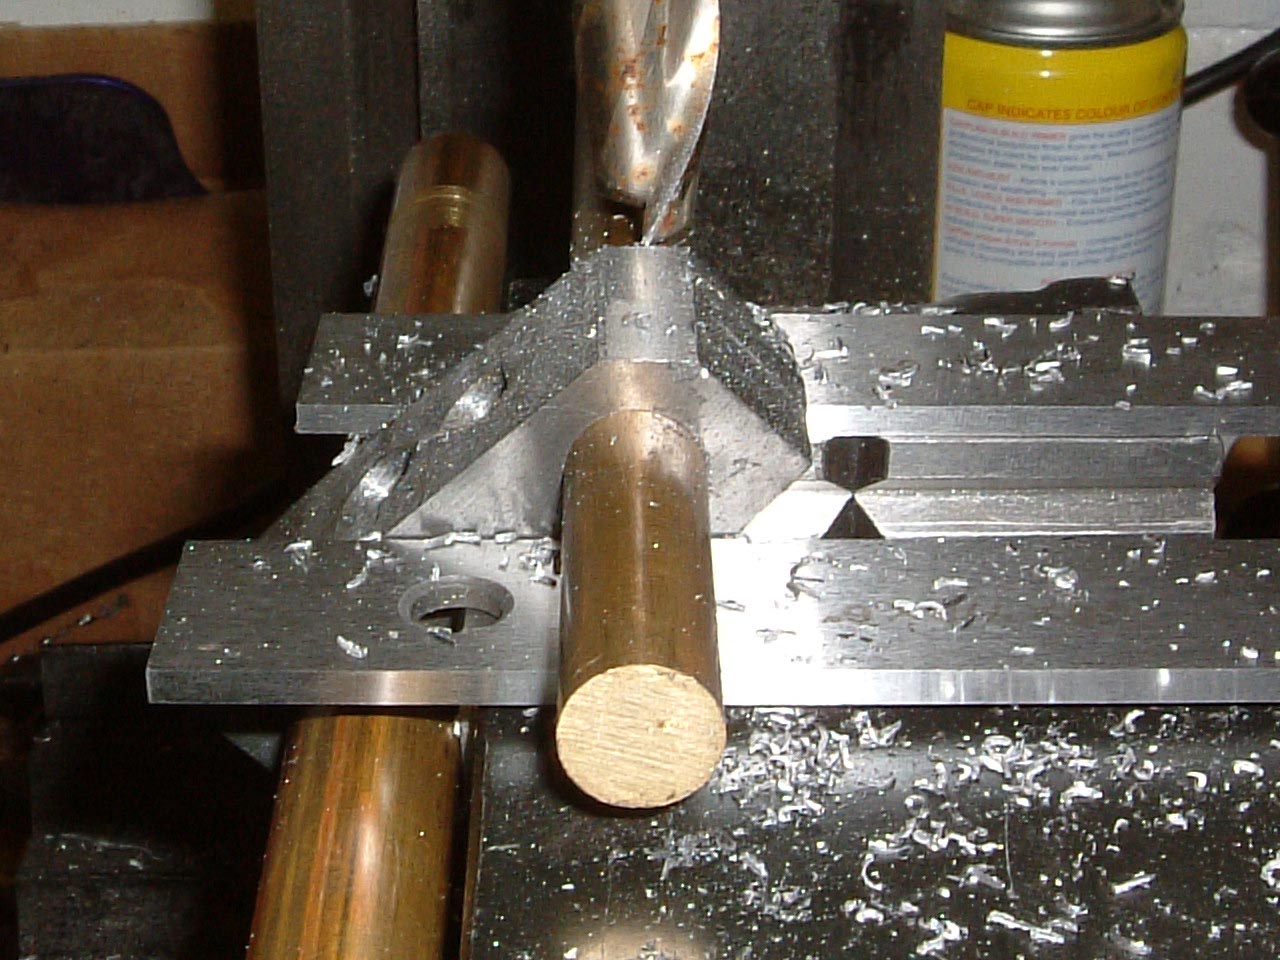 |
The thin end (still with the parallels supporting it), is chamfered off at 45 degrees on both sides. Thomas' book suggests this method for rounding off the ends, as it avoids trying to endmill a 1" thick piece of steel in the rotary table. |
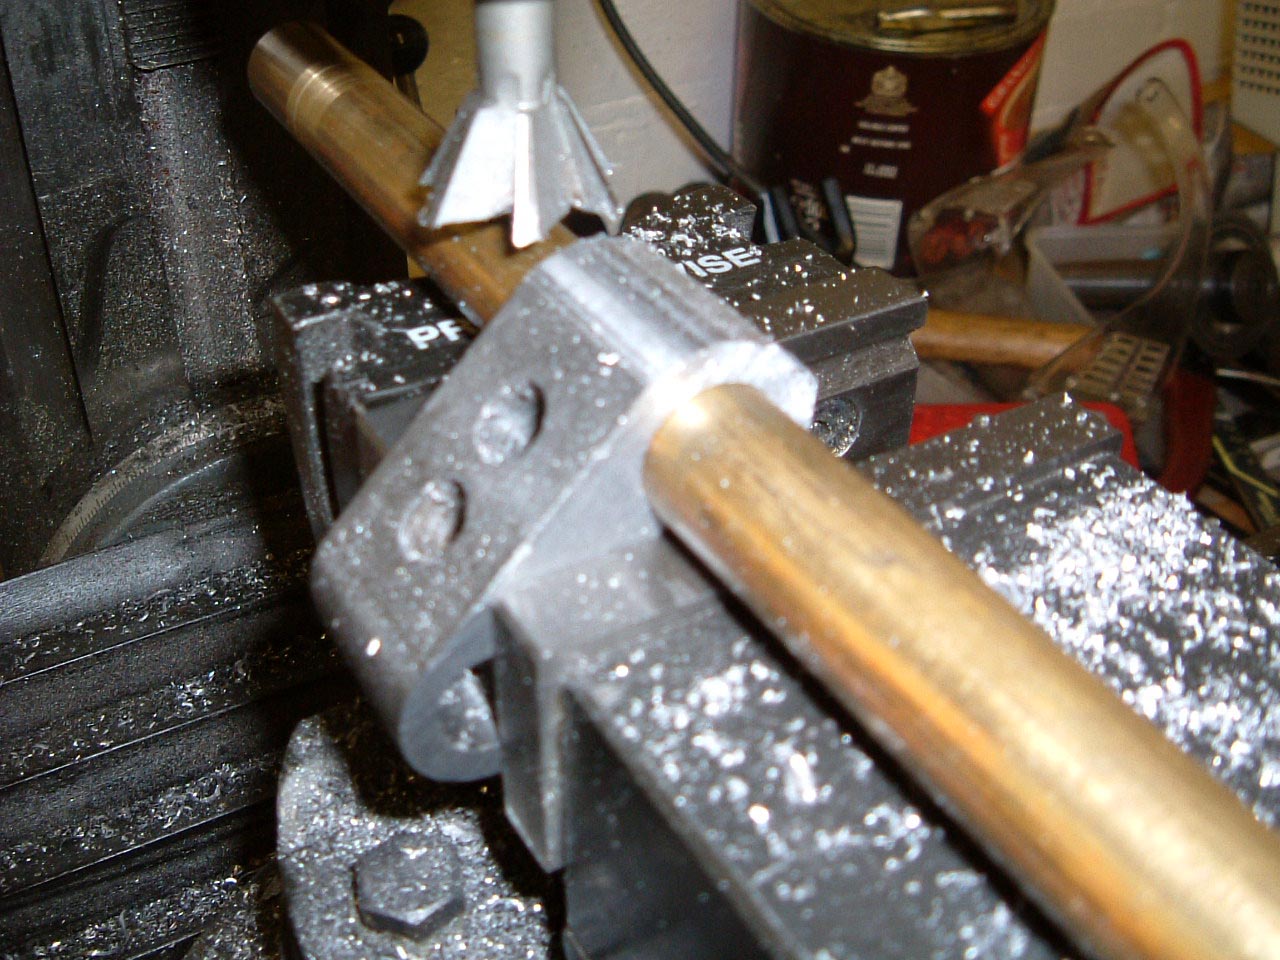 |
When I read the procedure for doing this from the book, it looked like a bodge job. However, it's quite easy to get the right curve on the ends by spinning the workpiece round and re-clamping every 5 or 10 degrees. |
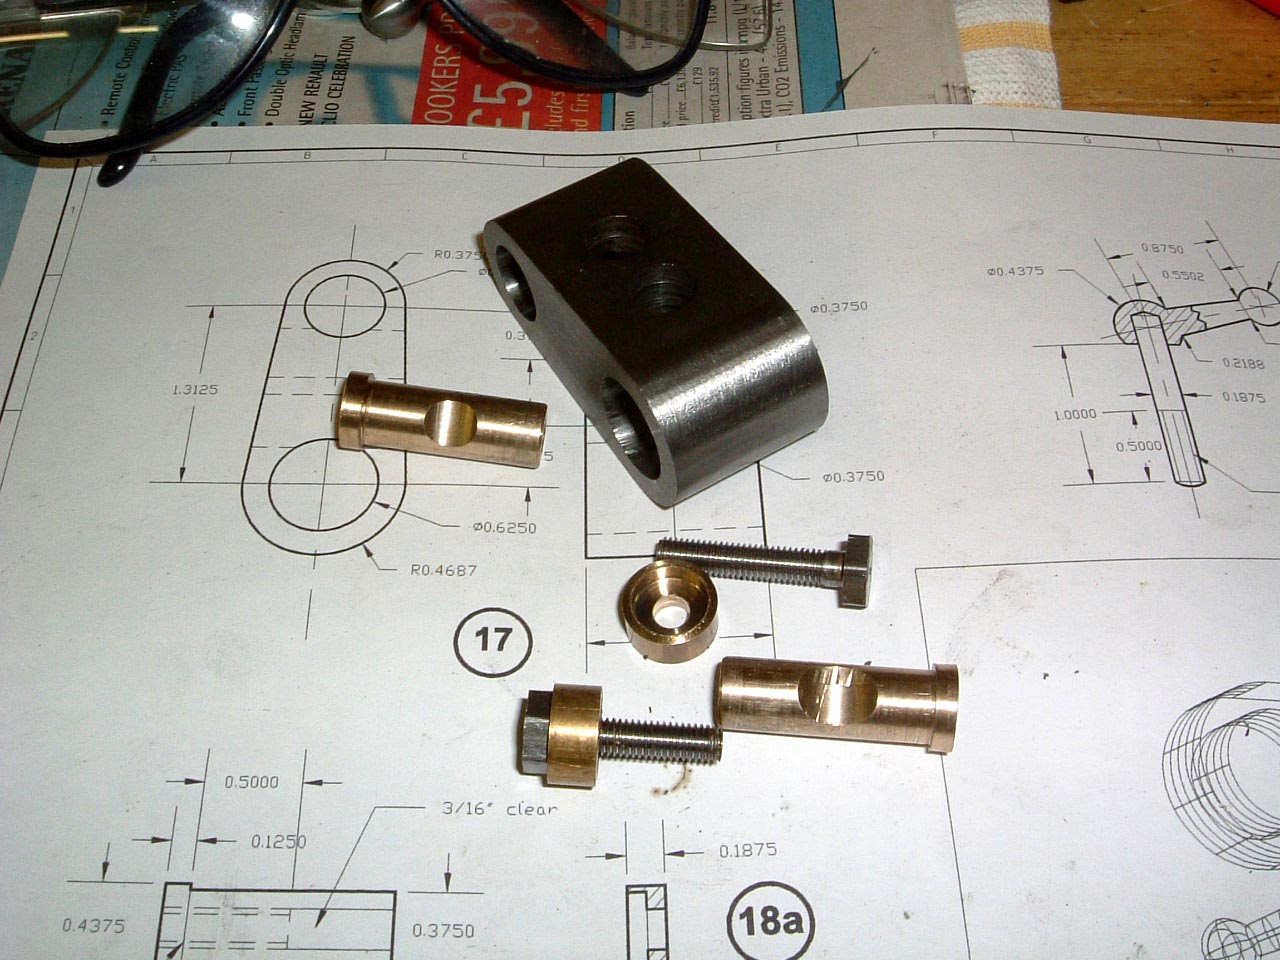 |
I'm surprised at how well the method works. The drawing in the picture didn't come with the kit, it was one that I made up to stop the book getting filthy... |
 |
09-Mar-2005: The banjo arm is being made before the head is machined, this is so the collar on the head casting can be made to fit the hole in the arm correctly. There are a few curves here, so a paper template has been printed and fixed to the steel plate with 3M Spray Mount adhesive - a couple of cuts have been made on the blank at this stage. |
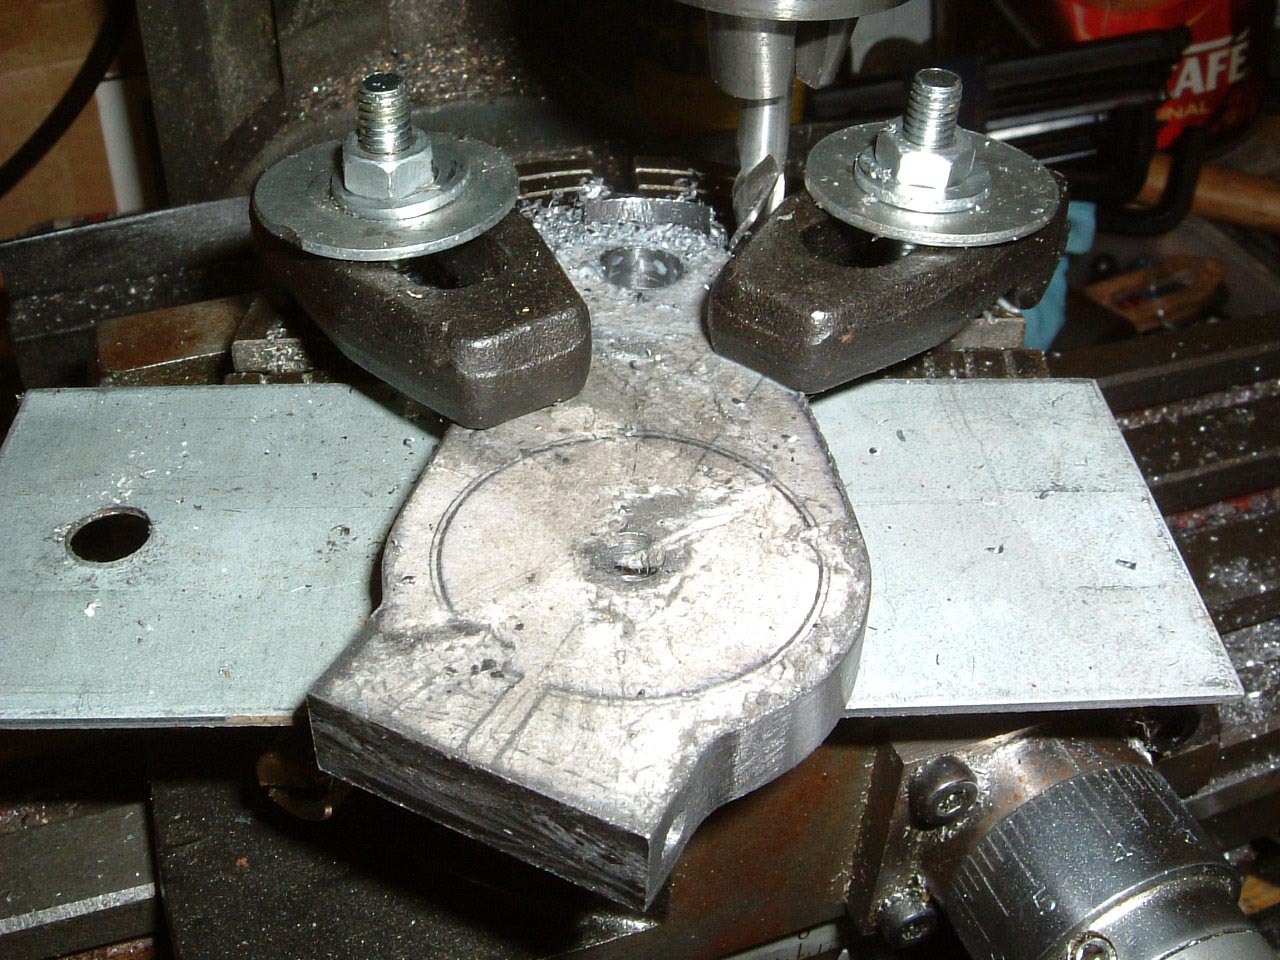 |
The large end has been radiused using the spin and trim method detailed above, the small end is being radiused in the rotary table. The paper template is just about falling apart, but has served its purpose. |
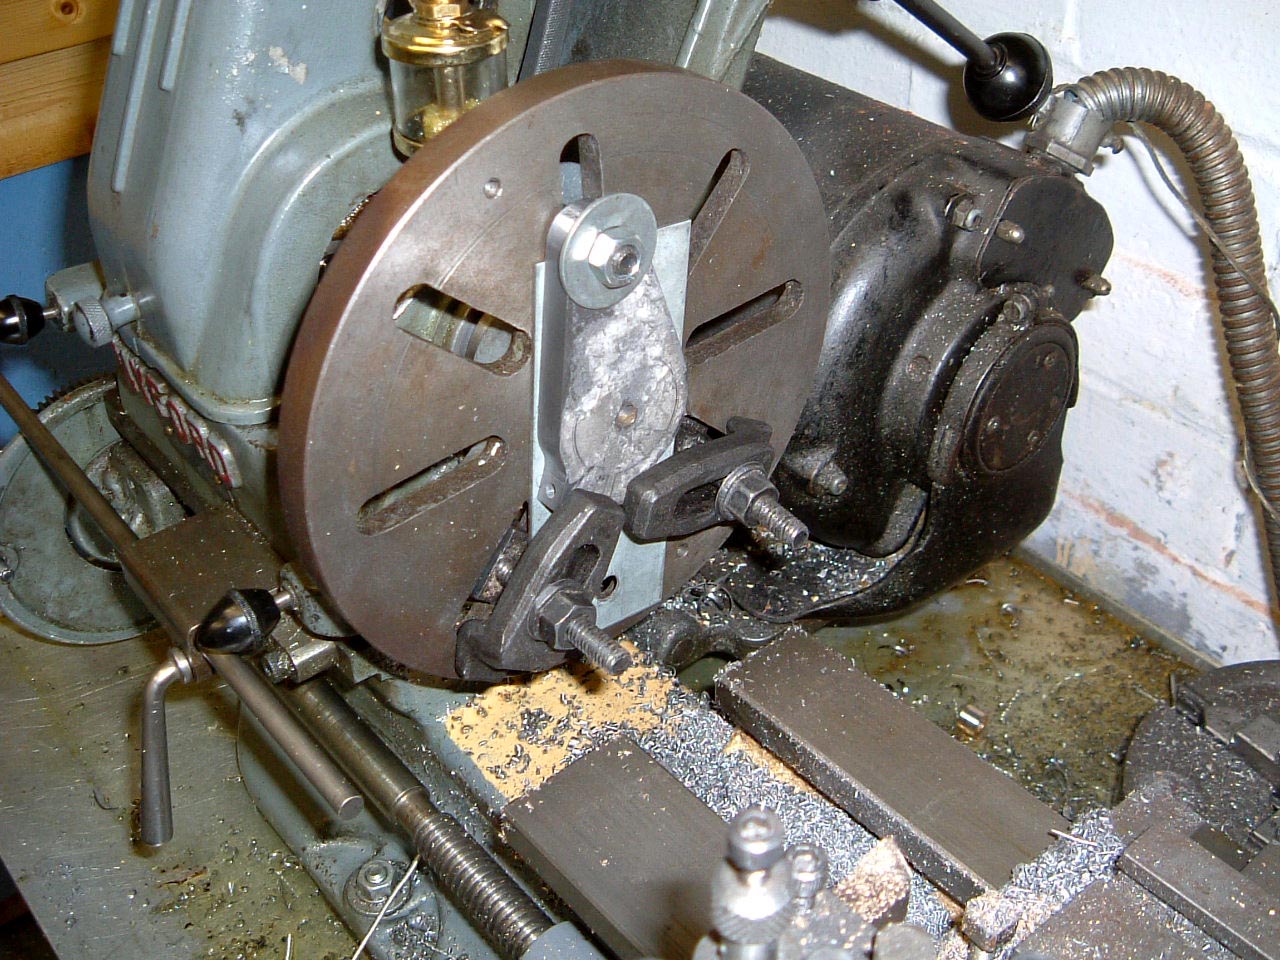 |
Onto the faceplate to bore the 1-3/8" hole - the 1/4" hole made previously allows the centre to be found for a nice accurate job. |
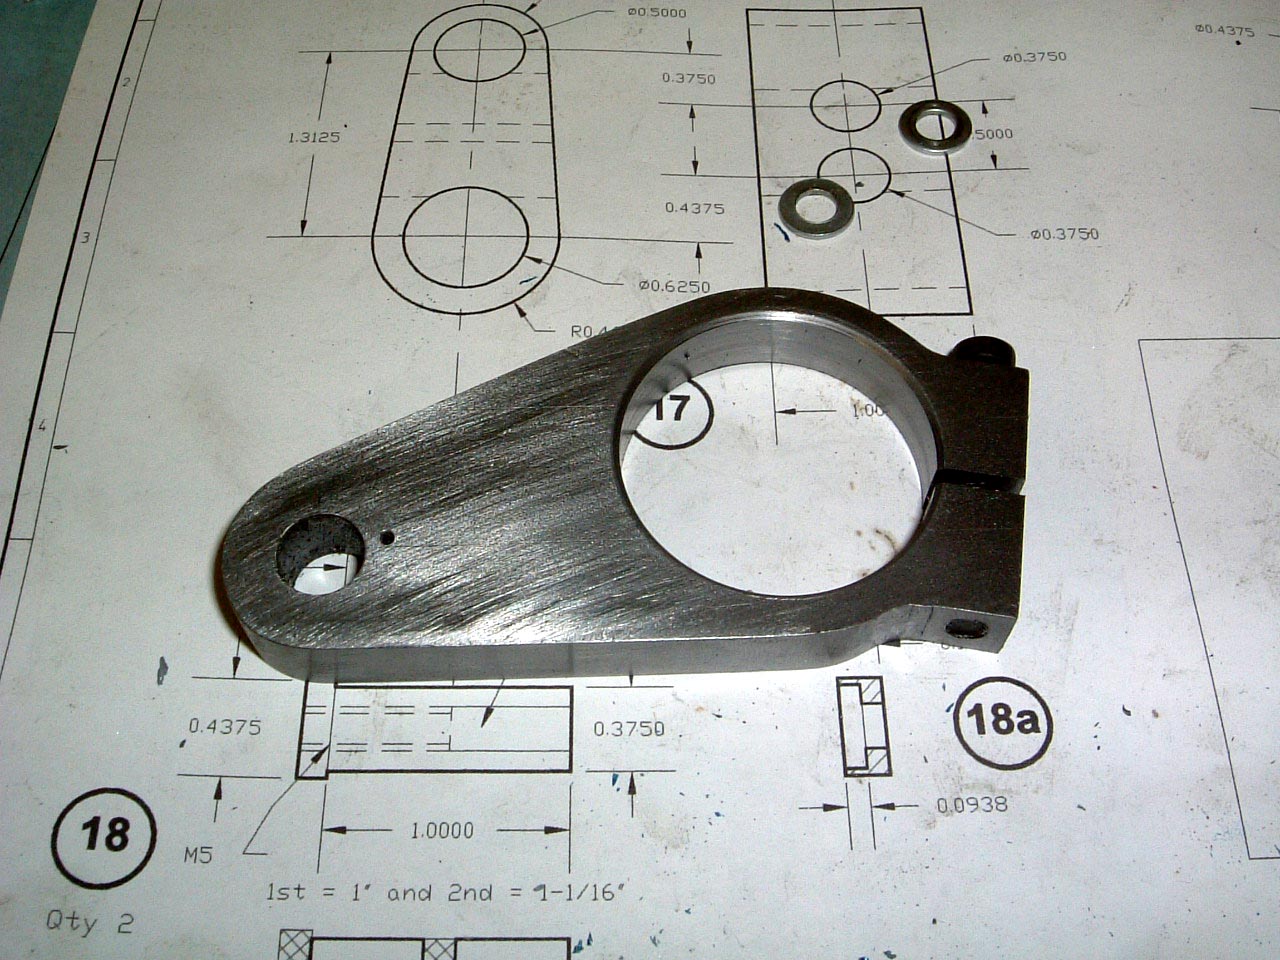 |
All done, with the final slitting and tapping carried out and the 2BA pinch bolt installed. It just needs the faces tidied up on the linisher. |
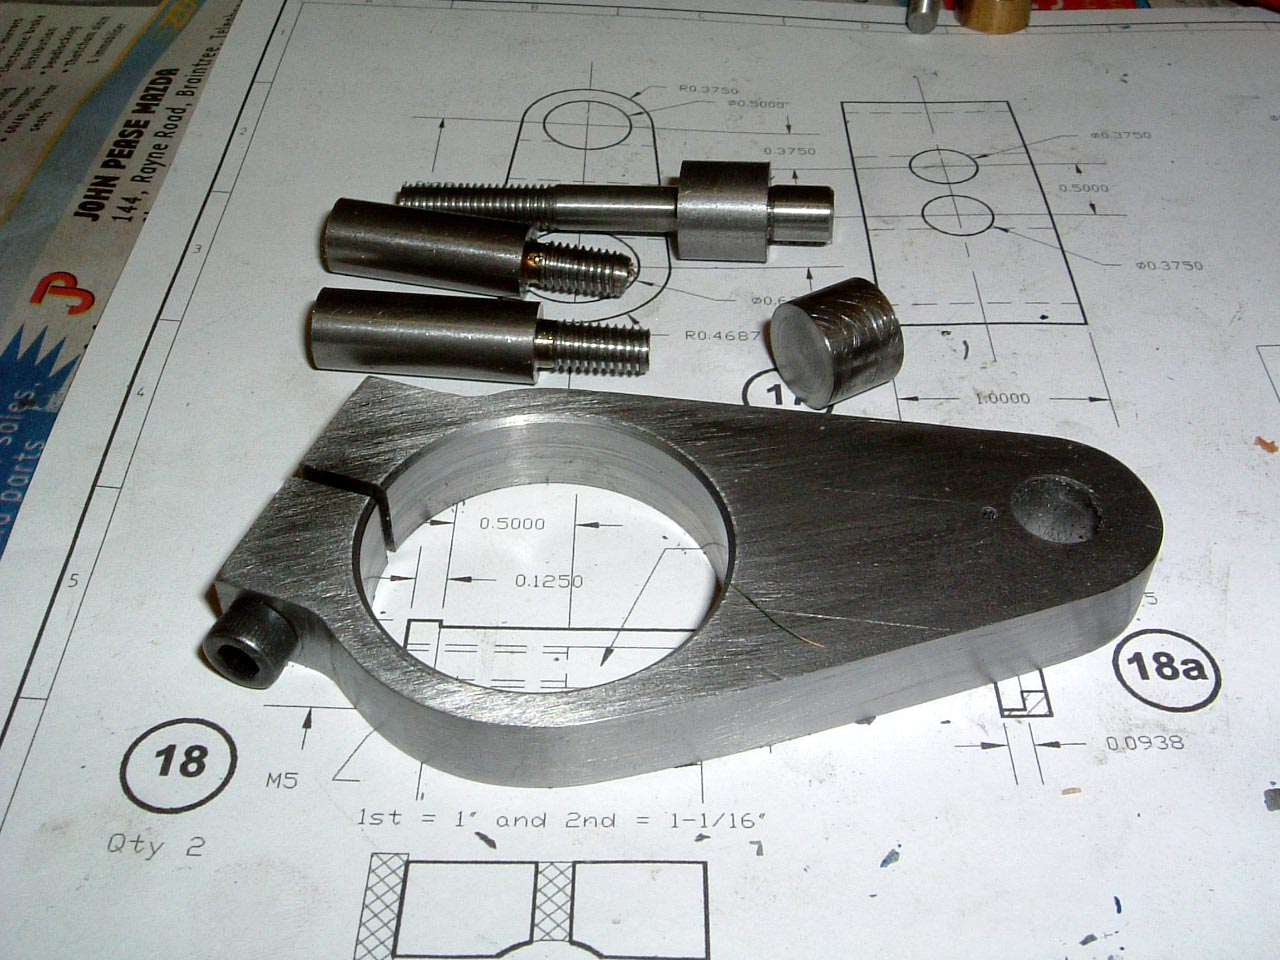 |
That's about it for now, a few cotters have been made up so all the items needed before machining the head are done. The brass clamp which holds the spindle has not been made yet - the 1/2" reamer here has a slight taper so I will be using a brand new 1/2" drill to make the hole and will turn the clamp to size after drilling the hole. |
These pages are maintained by Duncan
Munro. All content on this site is Copyright ©2002-2025 Duncan
Amplification.
Warning: These pages consist of images and descriptions of equipment
which can reach high temperatures creating hazardous and potentially dangerous
situations. These pages should not be taken as a step by step guide on how
to construct any items or carry out any particular procedure, nor should any
references to safety contained herein be taken to guarantee safety in all
situations.