|
|
2: Vertical slide Last updated: 30 Nov 2016 |
|
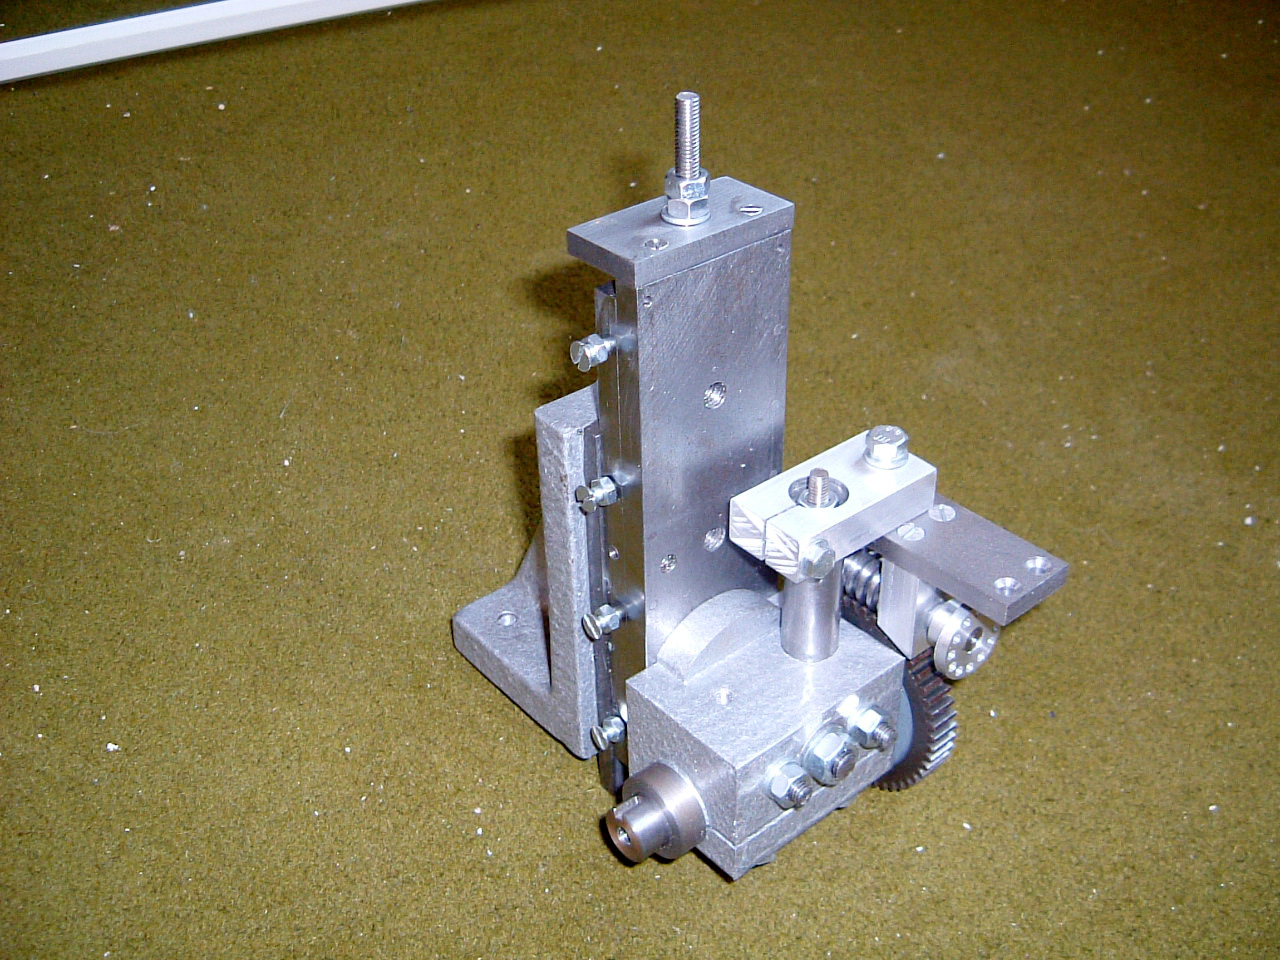
The vertical slide holds the work head in one of three
positions to cater for various sized gears. In the topmost position the work head can be rotated to permit
machining of bevel gears. Dovetail slides are utilised along with a gib strip to locate the moving slide in
the vertical axis.
Jacobs used a piece of 4 1/2" x 2 1/2" angle to make the bracket for the slide, as I don't have any of this stuff an alloy casting will be made instead. As a modification to the original drawings, a locking mechanism will be added to the gib strip to keep things a little more rigid. |

|
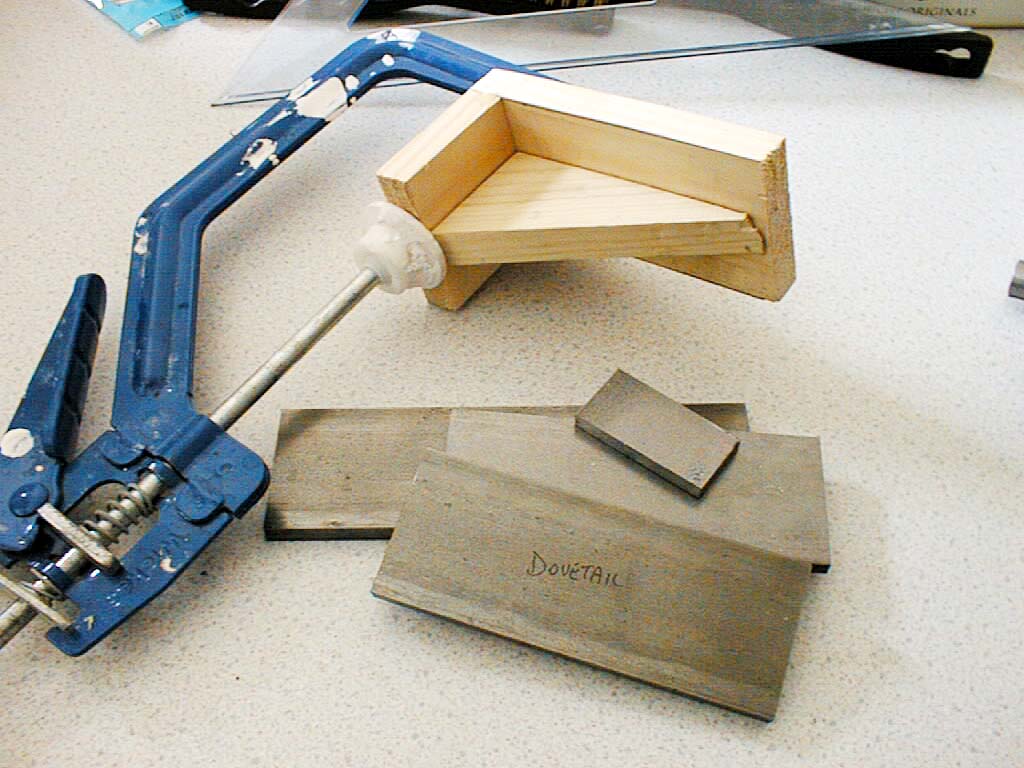 |
11-May-2003: Clamping some wood together to make the pattern for the bracket, also the steel items have been chopped from stock for the other bits and pieces. Thank goodness for bandsaws... |
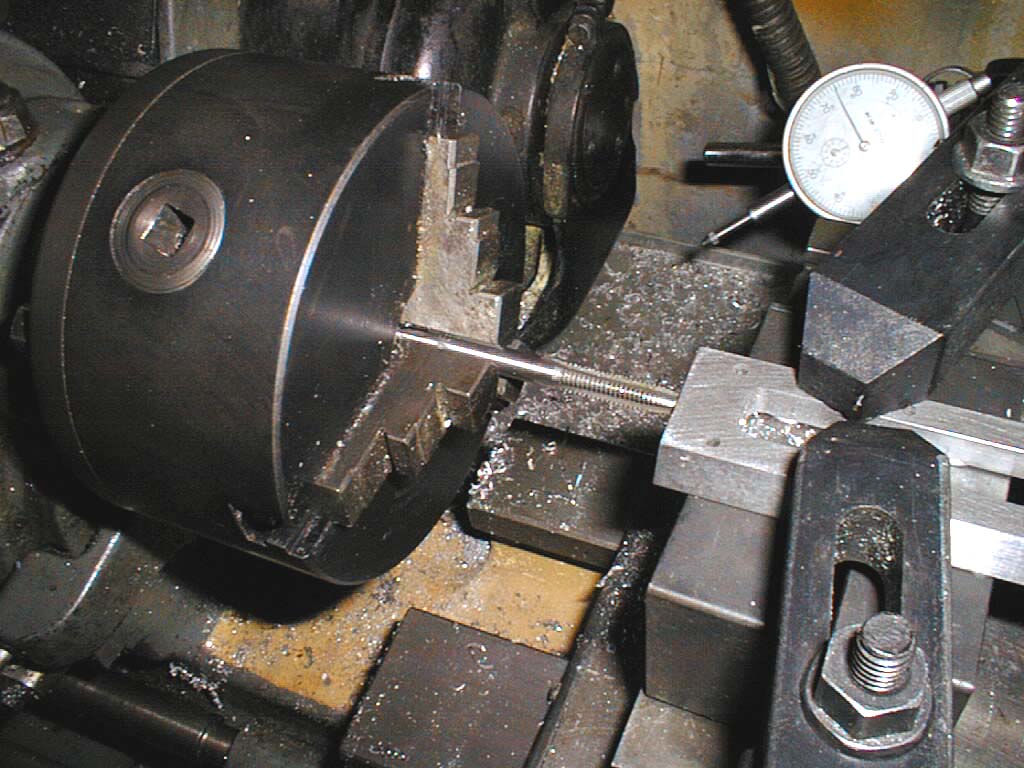 |
17-May-2003: The fixed part of the dovetail has been cut, now in the lathe so that the nut can be tapped (by hand!) parallel to the face and sides. |
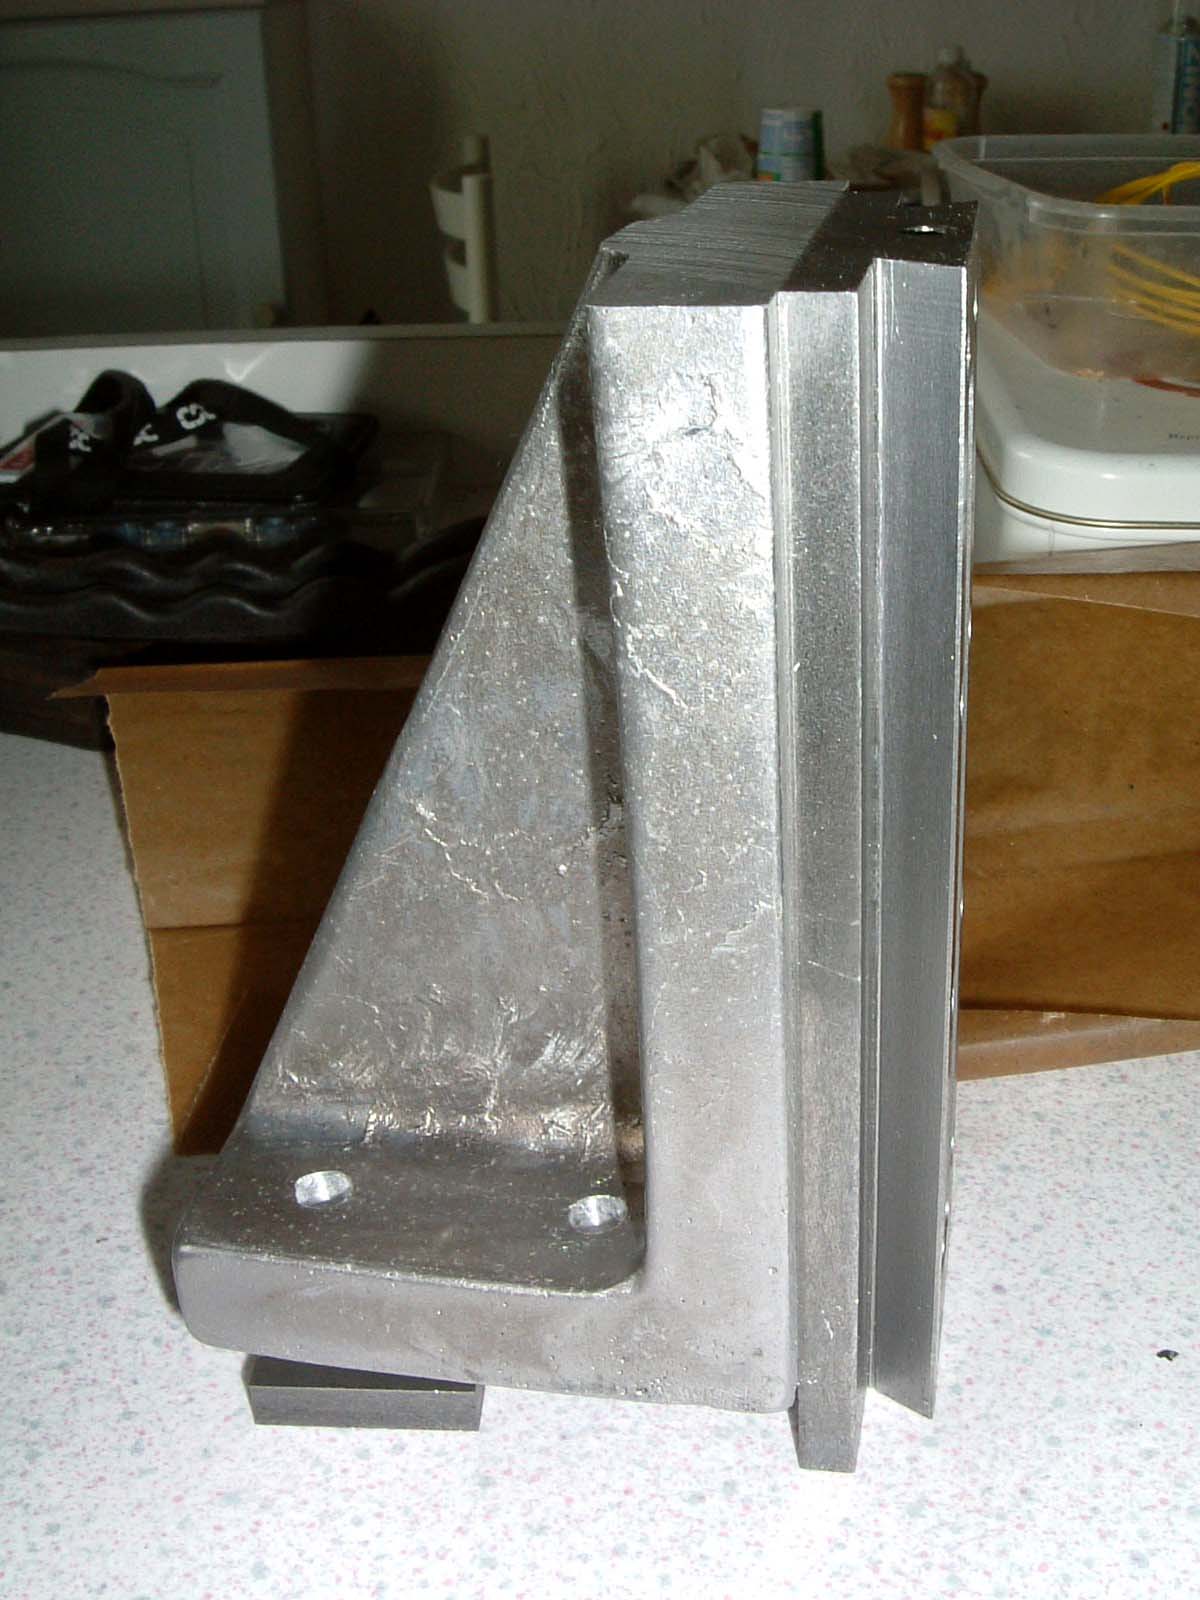 |
18-May-2003: The casting for the bracket has been finished, and the dovetail and backplate attached. The whole lot is held together with 8 countersunk M3 screws and epoxy adhesive. |
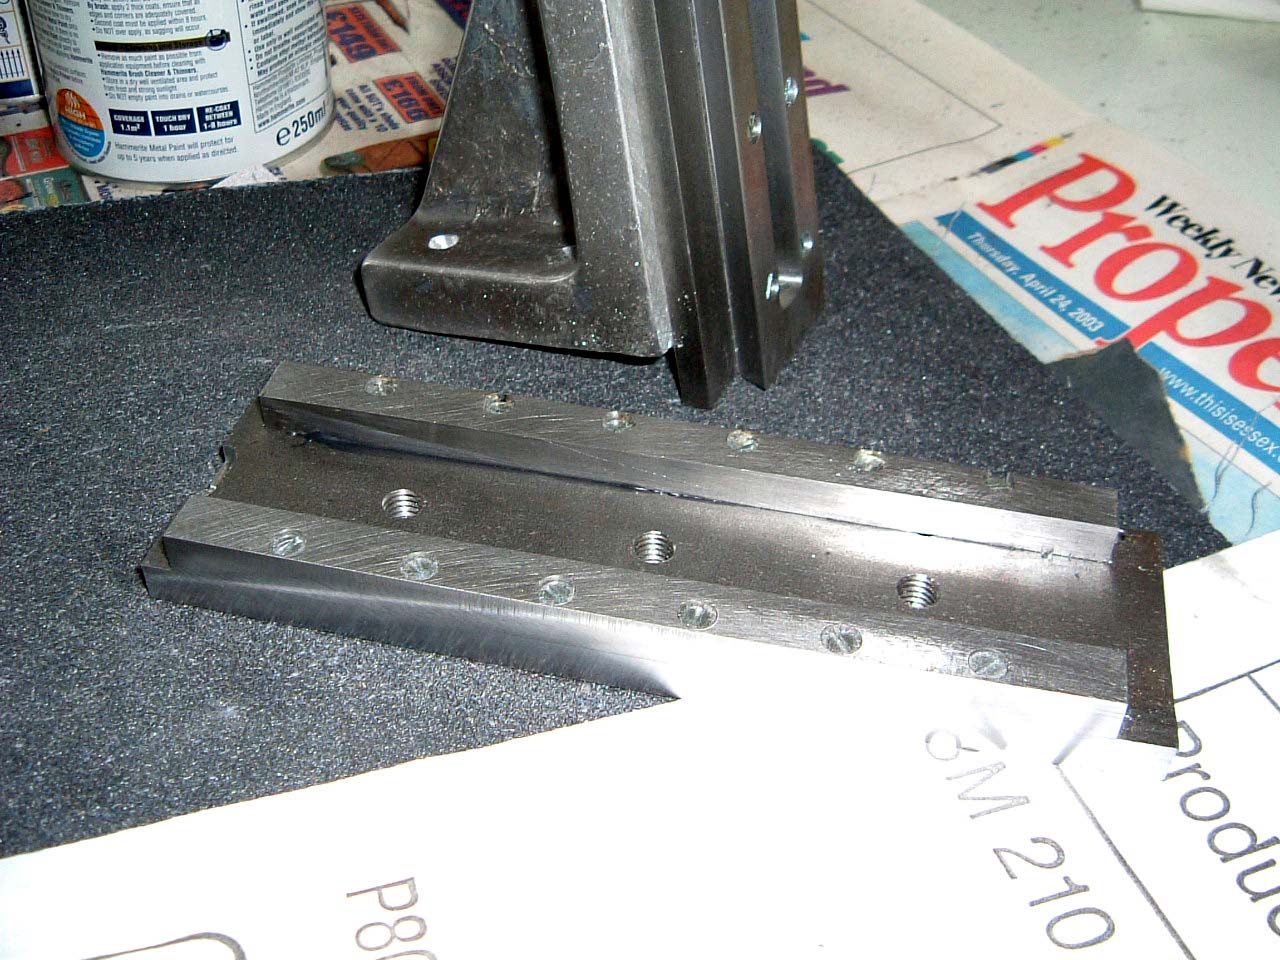 |
23-May-2003: Everything had been going good up until the slide... The gauge plate strips had been drilled slightly off angle, but the sides of the slides have been ground to mask this. A total of 12 M3 screws hold the strips to the slide, I managed to drill one side M2.5 to tap M3, and the other side M3 so no threads - the far side is just held on with glue and the screws used as pins. Not sure if this will hold up or I have to make another one. |
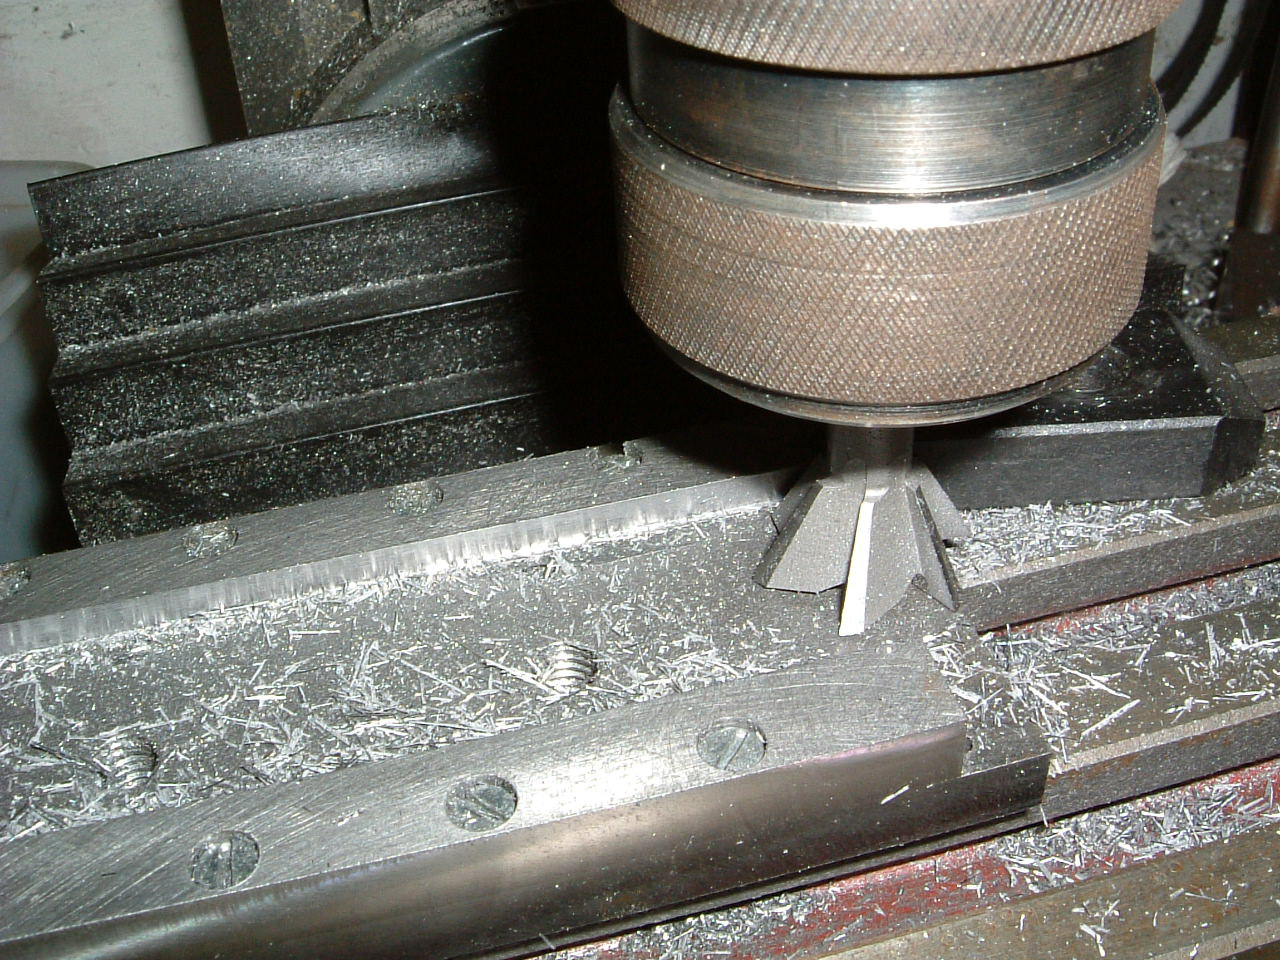 |
9-Jun-2003: No work for a little while due to other commitments, but back on the vertical slide now and cutting the dovetail. This is not much fun on the oil hardening gauge plate, cutting off 0.005" each pass. |
 |
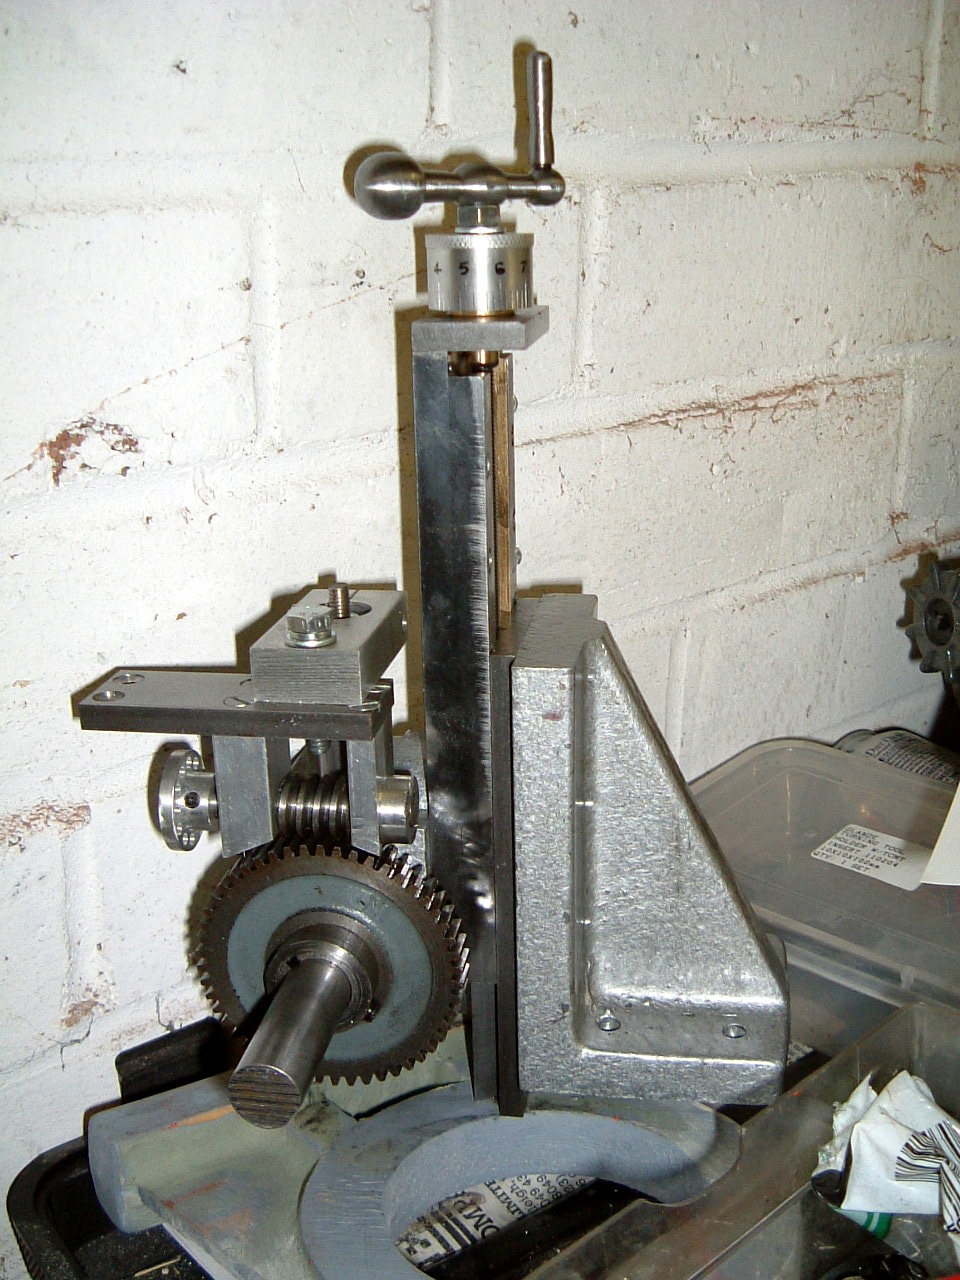
11-Jun-2003: Slides now done and lapped in, the dial needs to be made for the top along with a ball handle to turn the thing. It should now be possible to use the assemblies made so far to graduate the dial and carry out some primitive gear cutting. More later... |
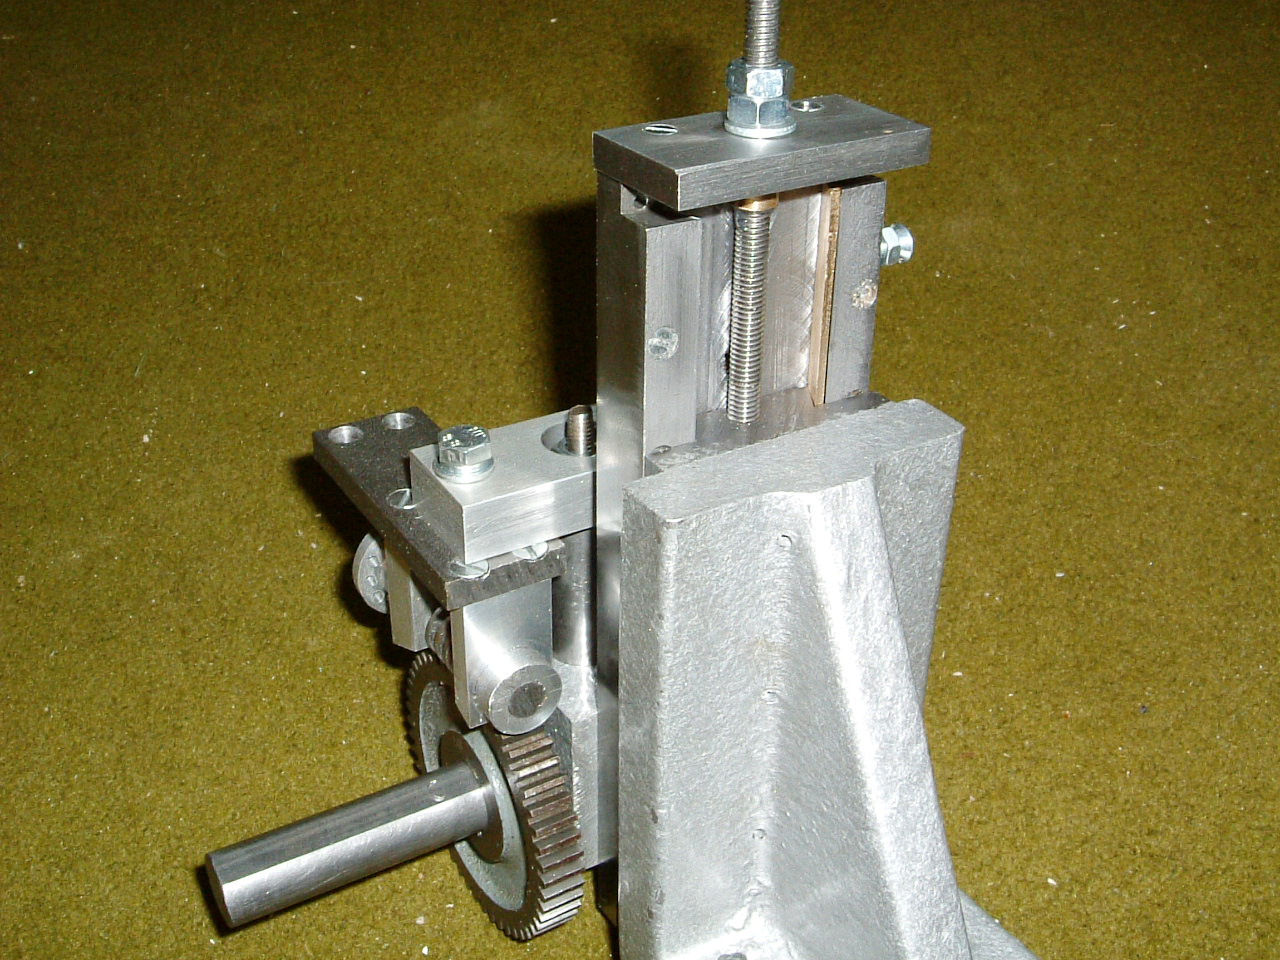 |
View from the back, the gib strip is made from brass - cutting up more gauge plate doesn't appeal to me right now. If it wears unevenly and/or quickly, it will get replaced. There is also a small brass collar underneath the top bracket which has been simply tapped M6 to fit the M6 x 1.00 feedscrew and glued to the feedscrew with epoxy. |
 |
12-Jun-2003: There is enough of the machine built to allow it to graduate its own dial. Fitted with a 50 tooth change wheel, it's an easy task to put 50 graduations on the dial each representing 0.02mm. |
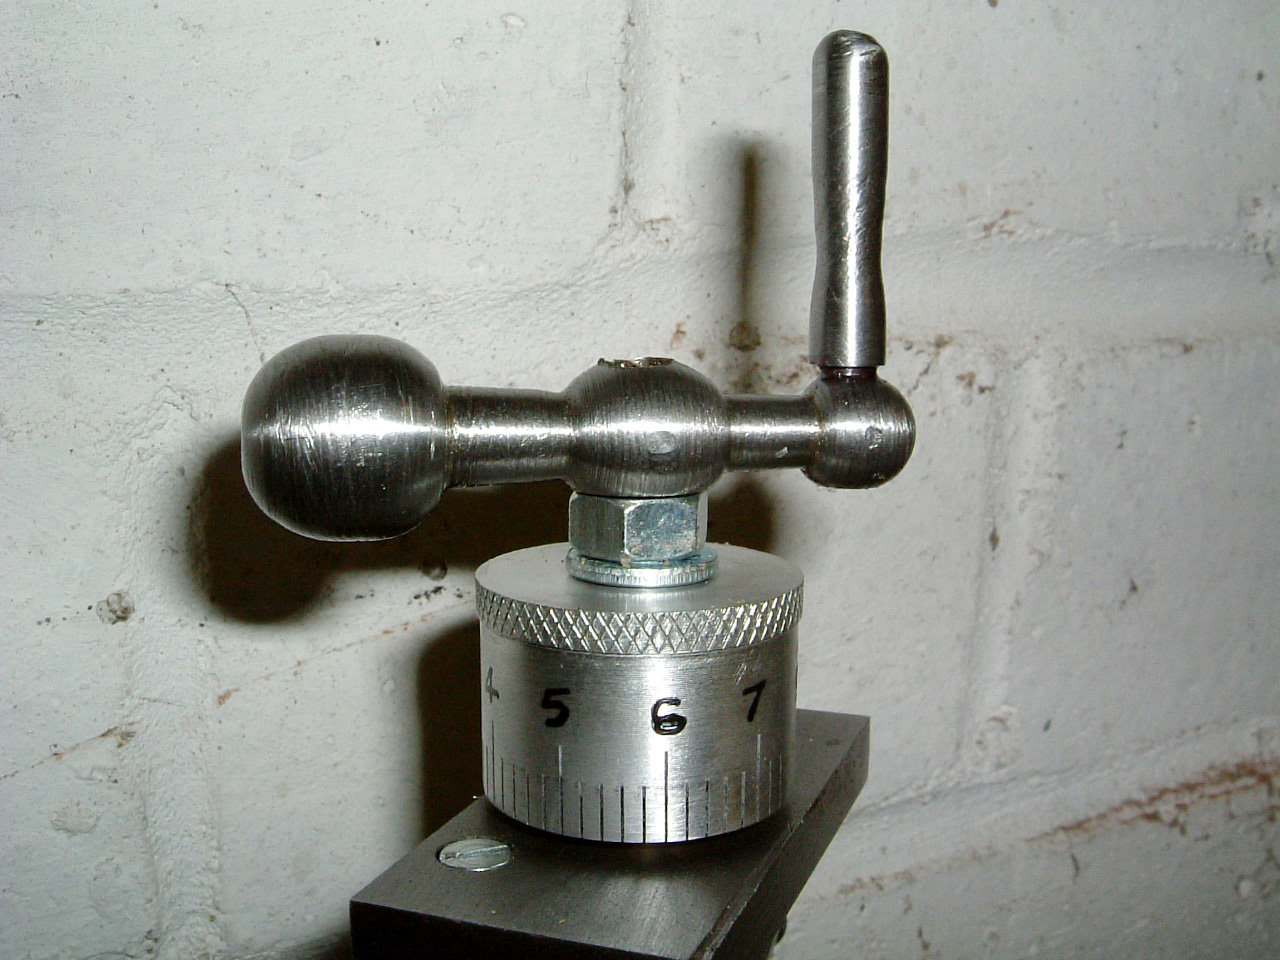 |
Here's the dial along with a very rough ball handle. The dial graduations were filled in with a Sharpie and came out much better than I had hoped, although the numbers have been filled in by hand :-( The ball handle was made with a file and silicon carbide paper - what a mess... |
 |
That's it for the vertical slide. It certainly works OK but needs a few tweaks such as a fixed line on the top bracket for reading off the numbers. Time to start work on the pattern for the base... |
These pages are maintained by Duncan
Munro. All content on this site is Copyright ©2002-2025 Duncan
Amplification.
Warning: These pages consist of images and descriptions of equipment
which can reach high temperatures creating hazardous and potentially dangerous
situations. These pages should not be taken as a step by step guide on how
to construct any items or carry out any particular procedure, nor should any
references to safety contained herein be taken to guarantee safety in all
situations.